
1. Introduction
So, you’ve conquered pointers, structs, and maybe even written a linked list or two—and now you’re wondering, “What’s next?” Well, dear code wrangler, welcome to the wild world of systems programming. Today’s adventure: building your own Unix-like shell in C.
Sounds intimidating? Don’t worry. By the end of this journey, you’ll not only understand what happens when you type ls -l in your terminal, but you’ll also have your very own shell program that can execute commands, handle pipes, and even sass you back with a custom prompt. (Okay, maybe not sass—unless you code it to.)
Learn beautiful Animations in PowerPoint – Click Here
Learn Excel Skills – Click Here
Learn Microsoft Word Skills – Click Here
1.1 What Is a Shell?
A shell is like your computer’s personal translator—the elegant go-between that interprets your human commands and tells the operating system what to do. On Unix and Linux systems, it’s the command-line interpreter that takes your text input, parses it, executes programs, and displays the results.
Popular examples? You’ve definitely met a few:
-
Bash – The grizzled veteran, reliable and everywhere.
-
Zsh – Bash’s cooler, theme-loving cousin.
-
Fish – The friendly one that auto-suggests like it can read your mind.
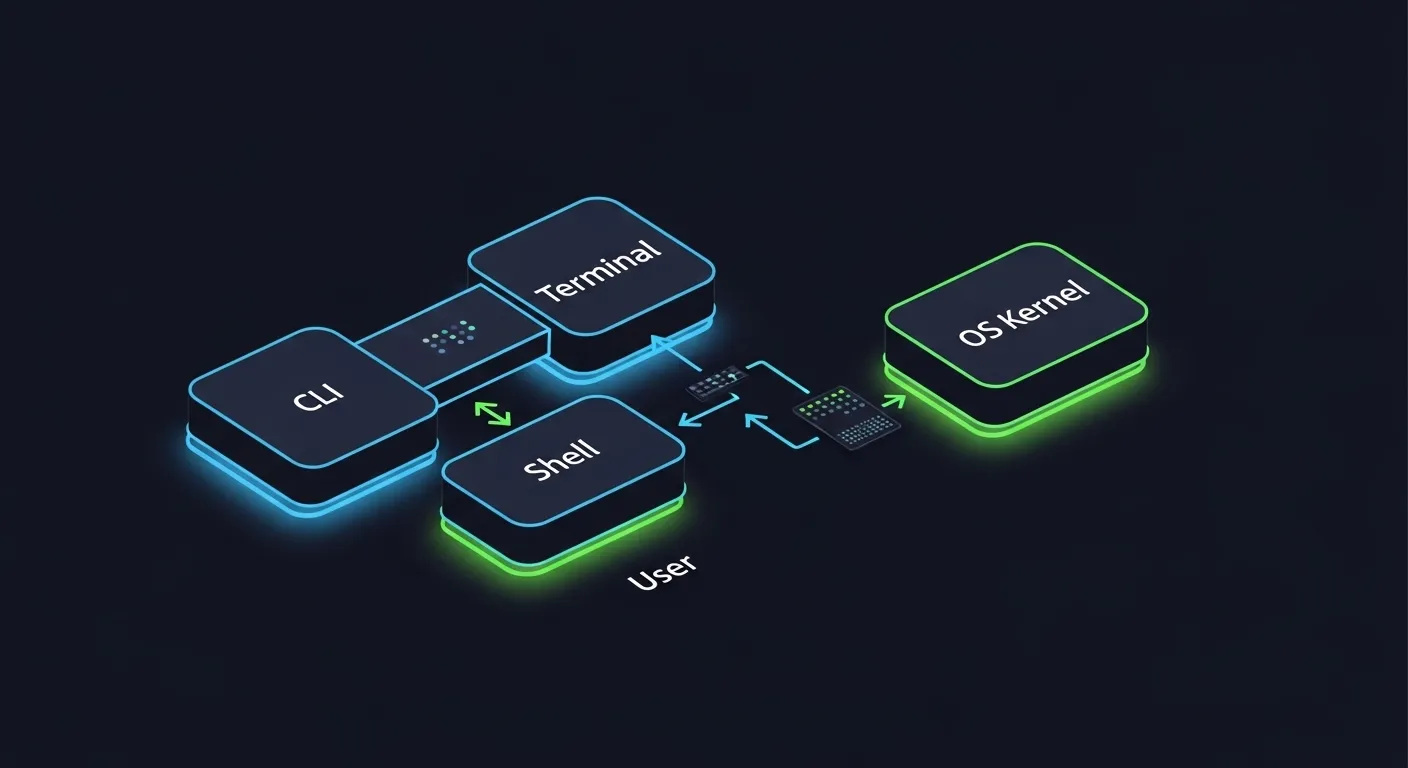
Now, let’s clear a common confusion: the terminal, CLI, and shell are not the same thing.
-
The terminal is the interface (like your GNOME Terminal or macOS Terminal app).
-
The CLI (Command Line Interface) is the style of interaction—text commands, not clicks.
-
The shell is the actual program running inside the terminal that interprets commands (like Bash or your soon-to-be “MyShell”).
1.2 Why Build Your Own Shell in C?
Because, my friend, this is where you level up.
When you write your own shell, you’re peeking behind the curtain of how your OS manages processes, memory, and input/output. It’s like learning how to drive a car—then building the engine from scratch.
Here’s why it’s worth it:
-
Educational goldmine: You’ll learn about process creation (
fork()), command execution (exec()), and synchronization (wait()). -
Practical experience: You’ll get hands-on with Linux internals and process control, essential for systems or backend developers.
-
Resume booster: Writing “Built a Unix-like shell in C” screams I understand how computers actually work.
This project bridges the gap between “I can code in C” and “I understand how the system runs my code.”
1.3 What You’ll Learn
By the time you’re done, you’ll be casually tossing around system calls like a pro:
-
Spawning processes with
fork() -
Replacing program images with
exec() -
Synchronizing execution using
wait() -
Creating pipes with
pipe()for I/O redirection
You’ll also handle:
-
User input and environment variables
-
Built-in commands (
cd,exit, maybe evenhelp) -
Error handling using
perror()and signal management for Ctrl+C interruptions -
And yes, you can even customize your shell prompt to say something like
coder@myshell:if you want that hacker aesthetic. 😎
1.4 Prerequisites
Before you dive in, make sure you’ve got:
-
Intermediate C skills: You should be comfortable with pointers, arrays, and memory management.
-
Basic Linux knowledge: Know your way around
ls,cd,cat, and the file system hierarchy. -
A Unix-based OS or WSL setup: Because nothing kills the vibe like trying to run
fork()on Windows.
By the end of this tutorial, you’ll have more than just a program—you’ll have a deep, hands-on understanding of how command-line magic really happens. So buckle up, open your terminal, and let’s teach your computer a few new tricks.
2. Setting Up Your Development Environment
Before we dive headfirst into the world of fork()s, exec()s, and “why is my process zombie-ing again?”, let’s make sure your environment is as ready as you are. A good setup is like a clean kitchen before cooking — fewer explosions and fewer regrets.
2.1 Required Tools
To build your own shell in C, you don’t need a million fancy tools. Just a few trusty ones:
-
C Compiler: You’ll need GCC or Clang — the workhorses of C programming. These compilers turn your human-readable (ish) C code into something your CPU actually understands. Most Linux systems already have GCC pre-installed. If not, run:
Boom — instant compiler power.
-
Text Editor: Pick your poison — VS Code, Vim, Emacs, or even Nano (hey, no judgment). Just make sure you’re comfortable editing and saving C files without wanting to throw your keyboard.
-
Unix Terminal: You can’t exactly write a shell without… well, a shell. Use your Linux terminal, macOS Terminal, or WSL (Windows Subsystem for Linux) if you’re on Windows. That gives you a genuine Unix environment — and some street cred too.
Pro tip: if you can run ls, pwd, and echo "Hello, world!", you’re good to go.
2.2 Project Structure
Organization matters. Even if your code is a little chaotic, your folder layout shouldn’t be. Here’s a neat way to structure your C systems programming project:
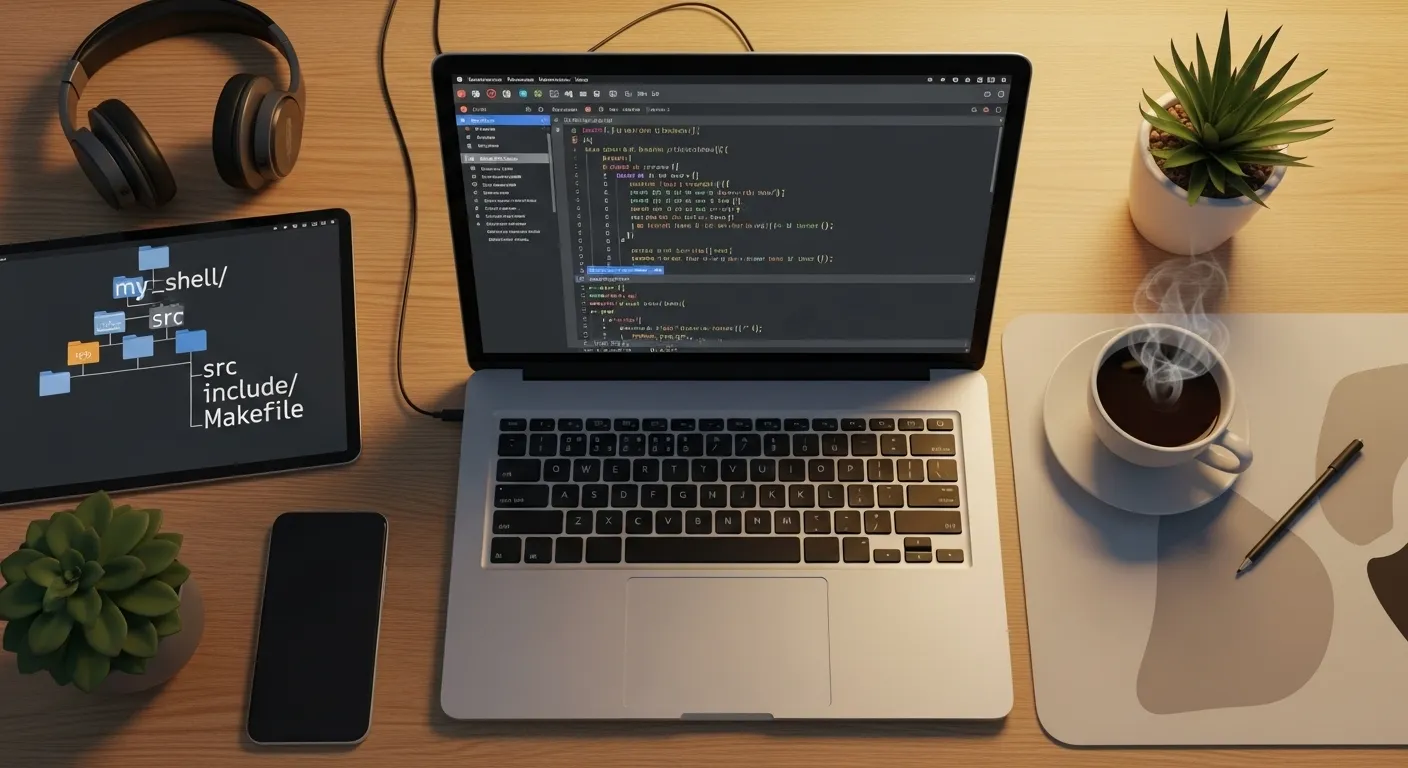
my_shell/

├── src/

│   └── main.c

├── include/

│   └── shell.h

└── Makefile
-
src/– Holds your C source files (likemain.cand future modules). -
include/– Keeps header files organized (trust me, this pays off once you split code into multiple files). -
Makefile– Your automation buddy. It helps you compile your program with a singlemakecommand instead of typing out a 200-charactergcccommand every time.
This structure mimics how professional Unix tools are built — so you’re already halfway to looking like an OS developer. 😎
2.3 Compiling and Running
Alright, time for the magical moment — turning code into a real program.
If you have a single source file (main.c), you can compile it with:
This tells GCC: “Hey, take main.c, build it, and output an executable named myshell.”
Now, give it a whirl:
If you see your program run (even if it just prints “Hello, Shell!”), congratulations — you’ve successfully created your first C program for your shell project! 🎉
That’s your “it’s alive!” moment.
Now that your environment is locked, loaded, and compiling like a champ, you’re ready to peek under the hood of what makes a shell tick. Next stop: understanding how real Unix shells work — the heartbeat of your soon-to-be command interpreter.
3. Understanding How Shells Work
Before we start slinging fork()s like ninja stars, let’s get one thing straight: a shell is not magic. It’s just a loop — a slightly grumpy, endlessly patient loop that takes your commands, runs them, and comes back for more.
Think of it like an overworked barista:
-
Takes your order (command).
-
Hands it off to the kitchen (the OS).
-
Waits until it’s done (the process finishes).
-
Smiles and says, “Next, please!”
That’s the core logic of every shell, from Bash to Zsh to the one you’re about to create in C.
3.1 The Shell Lifecycle
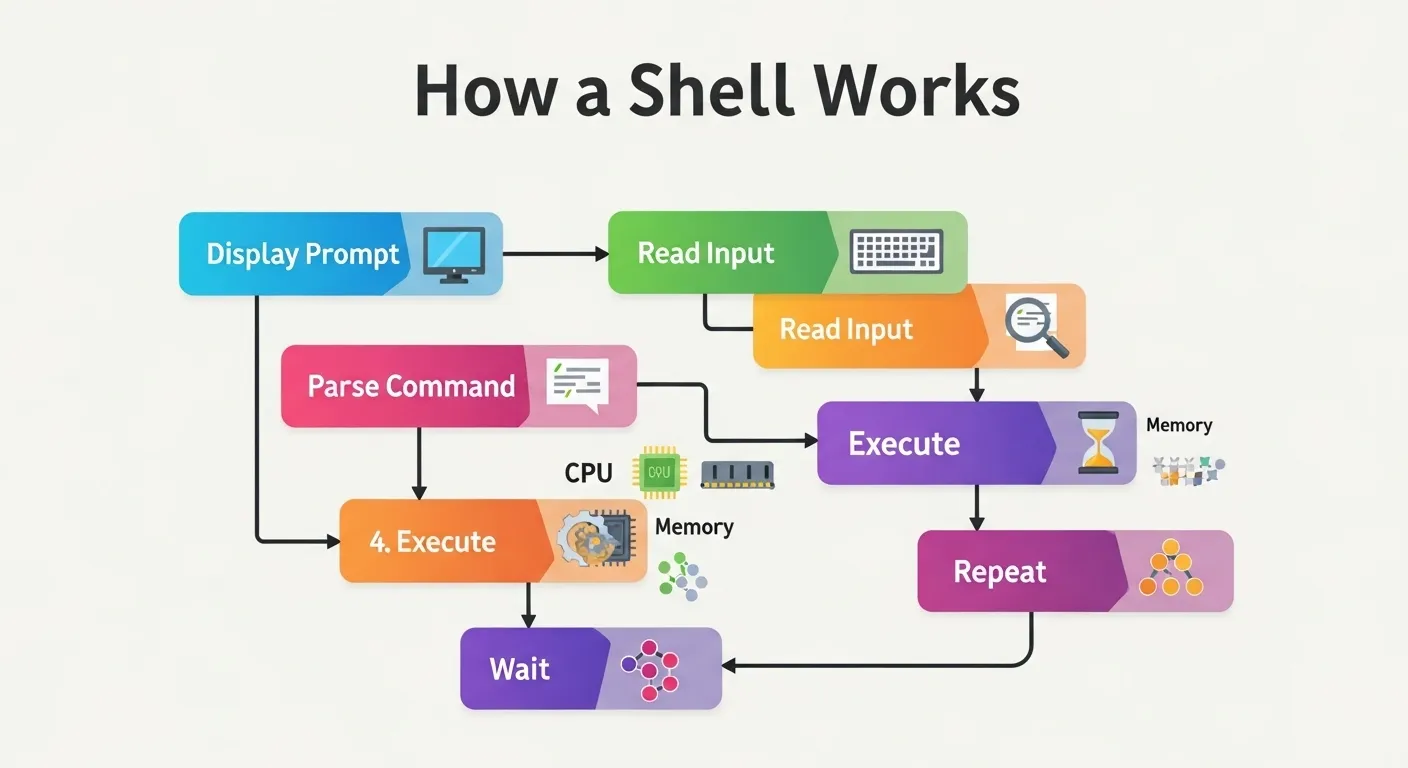
Let’s break down what happens every time you hit Enter in your terminal.
A shell basically does this in a loop:
-
Display prompt — Show something like
user@machine:~$. -
Read input — Grab what the user types.
-
Parse command — Split the input into words and arguments (
ls -l→ program =ls, arg =-l). -
Execute command — Create a child process and run the requested program.
-
Wait for completion — Let the child finish before continuing.
-
Repeat — Because humans never stop typing new things.
This simple cycle runs thousands of times during a normal terminal session. And you’re about to implement all of it yourself. (Yup. You.)
3.2 System Calls Involved
Now, here’s where it gets delightfully geeky. 😏
Every shell relies on a few key system calls — these are functions provided by the kernel that let your program talk to the operating system.
-
read()– Reads user input from the terminal. -
fork()– Creates a child process (a clone of your shell). -
execvp()– Replaces the child’s memory with the program you want to run (ls,cat, etc.). -
waitpid()– Makes the parent shell wait until the child process finishes. -
chdir()– Changes the current directory (cdcommand). -
exit()– Ends the shell session gracefully.
So, in C-speak, your shell will be juggling processes, input, and I/O like a pro circus act.
🧩 Imagine this flow:
Basically, your shell is a middle manager: it doesn’t do the work; it delegates it to other programs and waits for results.
3.3 Foreground vs Background Processes
Ever noticed how you can run a command with an & at the end — like sleep 10 & — and your terminal doesn’t freeze?
That’s because it’s running as a background process.
-
Foreground process: The shell waits for it to finish before taking another command.
-
Background process: The shell kicks it off and immediately asks, “What’s next?”
When building your own shell in C, you’ll detect that trailing & and tell your program, “Don’t wait for this child — let it live its best life in the background.”
This means your shell will sometimes need to manage multiple children at once, just like a babysitter with quadruplets.
3.4 Built-in vs External Commands
Now, not everything the shell does comes from external binaries. Some commands are built right in.
-
Built-in commands:
cd,exit,help, maybe evenhistory. These are handled inside your shell process. -
External commands:
ls,cat,grep, etc. — these live as binaries in directories like/binor/usr/binand must be executed viaexecvp().
Why the difference?
Because some commands (like cd) need to change the state of your shell process itself — you can’t spawn a new process and expect your working directory to magically follow.
So when you write your C systems programming project, you’ll teach your shell to recognize built-ins and treat them specially. Everything else gets passed to the OS with a polite fork() and execvp() handshake.
And that, dear coder, is the mental model of how your soon-to-be baby shell thinks, acts, and multitasks. It’s not about memorizing system calls — it’s about understanding how your shell coordinates everything like a maestro in front of a very chaotic orchestra.
Next up: we’ll start coding it all step by step — building your minimal working shell from scratch. This is where the real fun (and occasional debugging-induced tears) begins. 😄
4. Step-by-Step: Writing a Minimal Shell in C
Alright, future systems wizard — time to build your own shell in C. This section walks you through the process one feature at a time, like an overly talkative GPS guiding you through fork()s, exec()s, and the occasional segfault detour.
By the end of this, you’ll have a working shell — one that takes commands, runs them, handles cd and exit, and politely tells you when you’ve typed gibberish.
Let’s roll.
4.1 Step 1: Displaying a Custom Prompt
A shell’s prompt is its handshake — the part that says, “Hey, I’m ready. Type something cool.”
You can use the current working directory as part of your prompt for that authentic Unix look. In C, we use getcwd() for that:
Run this, and you’ll see something like:
Clean, classic, and just begging for a command.
When you loop this later, you’ll print the prompt every time the shell is ready for input. Feel free to get creative — maybe:
Yes, emojis are valid shell art.
4.2 Step 2: Reading User Input
Once your prompt looks good, your shell needs to read commands from the user.
You can use fgets() (safe but fixed-length) or getline() (dynamic, adjusts to input size). Let’s go modern with getline():
This reads an entire line — including spaces — until the user hits Enter.
💡 Pro Tip: Always check for empty input (\n only) and trim whitespace so your shell doesn’t try to execute… nothing.
4.3 Step 3: Parsing the Input
Now you’ve got input like "ls -l /home". You need to break it into tokens — the command and its arguments — before you can execute it.
Meet strtok(): the C standard library’s slightly dangerous but undeniably useful string splitter.
Usage:
Now args[0] is "ls", args[1] is "-l", etc.
Your shell can now understand what you’re asking for.
💥 Common bug: Forgetting to terminate the array with NULL. execvp() (which we’ll use soon) requires the argument list to end with a null pointer.
4.4 Step 4: Executing Commands
Here’s where things get real.
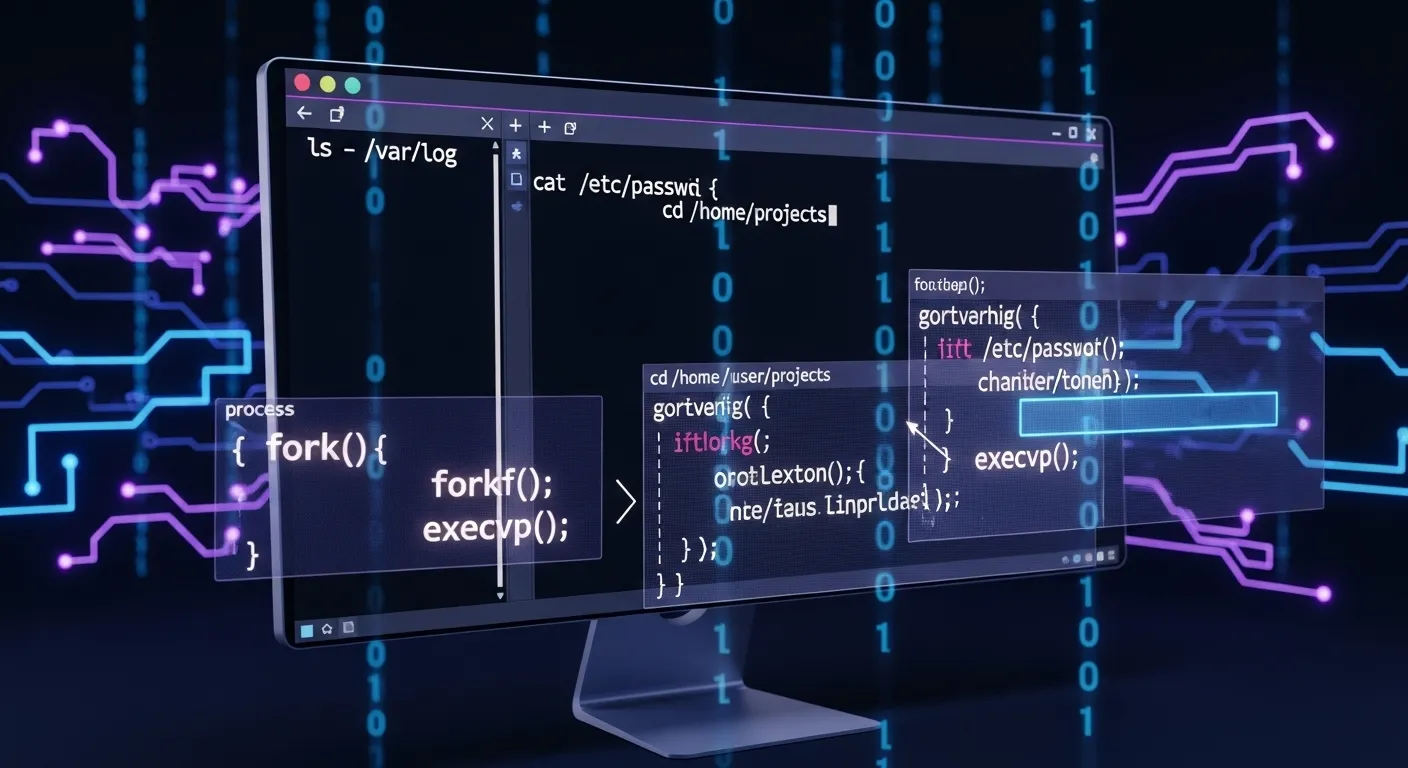
Your shell doesn’t run commands directly — it creates a new process using fork(). That child process then runs the command using execvp(). The parent shell waits for it to finish.
Here’s the pattern every Unix shell follows:
Let’s unpack it:
-
fork()duplicates your process.-
Returns
0to the child. -
Returns the child’s PID to the parent.
-
-
execvp()replaces the child’s memory with the program you asked to run. -
waitpid()makes the parent wait for the child to finish before asking for the next command.
Try typing ls or cat filename — your shell will actually run them! 🎉
4.5 Step 5: Implementing Built-In Commands
Not every command should be handed off to the OS. For example, cd and exit must be handled inside your shell, because they affect your process itself.
Here’s how to detect and handle built-ins before calling execvp():
Then, in your main loop:
Boom — you now have a shell that can cd, exit, and run real system programs. Not bad for a few dozen lines of C, right?
4.6 Step 6: Error Handling and Edge Cases
Now comes the part where your shell grows up and starts handling user chaos.
Things to handle gracefully:
-
Empty input: Just show the prompt again.
-
Unknown commands: Print an error (using
perror()or custom messages). -
Segmentation faults: Usually caused by uninitialized pointers or forgetting to
NULL-terminate your argument list. -
Ctrl+C: You can later catch this using
signal(SIGINT, handler);so your shell doesn’t exit when you hit it.
Here’s a classic error handler snippet:
Instead of crashing, your shell politely says something like:
Because hey, no one likes a dramatic exit.
The Big Picture
By now, you’ve stitched together all the main pieces:
Each piece builds on what you’ve learned — from reading input and parsing tokens to forking processes and handling errors.
This simple structure is exactly how professional shells like Bash started out before decades of feature creep made them terrifyingly complex.
But you? You’re building yours clean and minimal — elegant, understandable, and 100% your code.
💡 Pro Tip: Once this basic version works, commit your code. Then you can experiment with advanced stuff (background jobs, pipes, signals) without fear of breaking everything.
5. Enhancing the Shell
Congratulations! Your minimal shell is alive, executing commands, and handling cd and exit. But let’s face it: a shell that can’t run background jobs, redirect output, or handle pipes is like a car without brakes — functional, but slightly terrifying.
This section is where we sprinkle in the extra powers that make your shell feel polished, professional, and, frankly, a little magical.
5.1 Adding Background Process Support
Ever typed sleep 10 & and immediately continued typing commands? That’s background execution, and it’s easier than it sounds.
All you need to do is detect an ampersand (&) at the end of a command and tell your shell not to wait for that child process.
Now your shell can multitask like a pro — it’s basically a digital octopus. 🐙
5.2 Implementing I/O Redirection
I/O redirection is what makes commands like ls > out.txt or cat < file.txt possible. In C, this is achieved with dup2() and open().
Example: redirecting stdout to a file:
And just like that, your shell writes output to a file instead of the screen. Reverse it with STDIN_FILENO for input redirection.
💡 Pro Tip: Always close file descriptors after duplicating, or your shell will leak resources like a sieve.
5.3 Implementing Pipes (|)

Pipes are what let us chain commands: ls | grep .c | wc -l. Internally, this means creating multiple processes and connecting them with pipe() file descriptors.
A simplified version looks like this:
This sets up a communication channel between two processes — like a well-coordinated relay race. Add more fork()s and pipes for multi-stage pipelines.
5.4 Signal Handling
No one likes it when a stray Ctrl+C kills their shell. You can catch signals using signal() and handle them gracefully.
Now your shell ignores accidental interrupts, but still lets users exit politely.
5.5 Environment Variables and PATH Resolution
A robust shell knows where to find programs using the PATH environment variable and can read or set environment variables.
-
Get PATH:
-
Set a variable:
-
Search executable in PATH: Iterate over directories in
PATHto find the program ifexecvp()fails.
This is crucial if you want your shell to behave like a “real” Unix shell and not just a glorified command runner.
5.6 Command History (Optional Enhancement)
Finally, for a shell that remembers, implement history. Store previous commands in memory or in a .myshell_history file:
Later, you can implement history command, or even arrow key navigation using the readline library. It’s optional, but it makes your shell feel complete.
Wrapping Up the Enhancements
At this point, your shell is no longer “minimal.” It can:
-
Run background jobs
-
Redirect input/output
-
Pipe multiple commands
-
Handle signals gracefully
-
Use environment variables
-
Keep command history
You’re essentially creating your own little Unix environment. 🎉
6. Testing and Debugging Your Shell
Congratulations! Your shell now runs commands, handles built-ins, supports pipes, and even multitasks. But before you start bragging to your friends about your C systems programming project, it’s time for the unglamorous but essential step: testing and debugging.
Think of it like taking your shiny new car for a test drive — you want to find squeaks, leaks, and accidental reverse gears before someone else does.
6.1 Common Bugs and Fixes

Even experienced developers hit walls when building a shell. Here are some classic culprits:
-
Memory leaks: Forgetting to
free()dynamically allocated strings or arrays can slowly drain memory. Usevalgrind ./myshellto spot leaks. -
Invalid reads/writes: Accessing uninitialized pointers or going past array bounds can cause segmentation faults. Double-check your
args[]parsing. -
Zombie processes: Background processes can leave “zombie” entries if the parent never calls
waitpid(). Handle them with:
-
Command not found errors: Ensure your
execvp()arguments areNULL-terminated and that PATH is correctly searched.
By systematically checking these, your shell will run reliably without random crashes or mysterious behavior.
6.2 Stress Testing
Once the basics are solid, put your shell through its paces:
-
Run multiple background jobs: Test commands like
sleep 5 & sleep 5 & sleep 5 &and make sure the shell doesn’t hang. -
Malformed input: Type
ls | | grep .corcat <and see how your shell reacts. It should handle errors gracefully. -
Complex pipelines: Combine multiple pipes and redirections to verify everything works together.
Stress testing ensures your shell behaves like a real Unix terminal under less-than-ideal conditions — a vital step if you want to impress anyone with your Unix shell tutorial C project.
6.3 Improving Performance
Even minimal shells can be sluggish if not careful. Some tips to keep your shell zippy:
-
Minimize system calls: Reuse buffers and avoid unnecessary calls to
getcwd()orstrlen()inside loops. -
Efficient input buffering: Use
getline()or dynamically allocated buffers to handle large input gracefully. -
Avoid excessive forks: Only spawn child processes when necessary, especially for built-ins like
cdandexit.
A well-tested and performance-conscious shell not only works correctly but feels smooth to use — giving you the satisfaction of a job well done.
By following these testing and debugging steps, you’ll ensure your shell is robust, stable, and ready for more advanced features. Plus, you’ll avoid the heart-stopping moment when your first background job refuses to die and leaves a zombie army in /proc. 😅
7. Advanced Additions
By now, your shell is fully functional: it runs commands, handles built-ins, supports pipes, background jobs, and I/O redirection. But a truly polished shell does a little more — it’s user-friendly, visually appealing, and smart. Let’s explore some advanced enhancements you can add.
7.1 Tab Completion Using the Readline Library
One of the first things you’ll notice in Bash or Zsh is tab completion. Typing cd Doc and hitting Tab magically completes it to cd Documents/.
You can replicate this using the GNU Readline library. It provides:
-
Input editing
-
History navigation
-
Tab completion
Example initialization:
With Readline, your shell immediately feels more modern and interactive — no more guessing file names or retyping long paths.
7.2 Adding Color Prompts
Humans love color. Why should your shell be boring? You can customize the prompt using ANSI escape codes.
This gives your shell a professional and visually appealing look. Combine colors with emojis or symbols, and suddenly your terminal is fun to use.
7.3 Config Files for Aliases or Startup Messages
Many shells read a config file at startup (~/.bashrc, ~/.zshrc). You can do the same:
-
Load aliases like
ll = ls -l -
Display a welcome message
-
Set environment variables
Example:
This allows users (or future you) to tweak behavior without touching the source code.
7.4 Multi-line Commands or Scripting Support
Why limit your shell to one-liners? You can handle multi-line input by detecting line continuation characters (\) and concatenating input.
Eventually, you could even implement basic scripting support, letting users write small shell scripts to automate tasks — bringing your project closer to a mini Bash clone.
Wrapping Up Advanced Features
These additions aren’t required for a minimal shell, but they make your shell:
-
User-friendly (tab completion, history)
-
Visually appealing (colors, prompts)
-
Customizable (config files, aliases)
-
Powerful (multi-line commands, scripting)
Implementing even one or two of these will elevate your C systems programming project from “working prototype” to “impressive portfolio piece.”
8. Conclusion and Next Steps
Congratulations! You’ve traveled from a blank terminal to a fully functioning Unix-like shell built entirely in C. That’s no small feat — you’ve literally peeked behind the curtain of your operating system, and now you understand how processes, I/O, and user input work together to make commands like ls, grep, and cat possible.
8.1 Recap
Here’s what you’ve accomplished in your C systems programming project:
-
Built a custom shell in C capable of reading and parsing user input.
-
Implemented built-in commands like
cdandexit. -
Learned to create and manage processes with
fork(),execvp(), andwaitpid(). -
Added advanced features like background processes, I/O redirection, and pipes.
-
Handled signals, environment variables, and error cases.
-
Optionally, enhanced usability with history, tab completion, and colorful prompts.
In short: you now know what makes a shell tick. You can read the user’s commands, hand them off to the OS, and gracefully handle every little hiccup along the way.
8.2 Going Beyond
This is only the beginning. If building a shell excites you, consider:
-
Custom command-line interpreters: Add scripting features, aliases, and advanced parsing.
-
Mini-OS projects: Experiment with process scheduling, memory management, and kernel-level programming.
-
Open-source contribution: Put your shell on GitHub, invite feedback, and see how others enhance it.
And don’t forget: the Unix manual pages (man 2 fork, man 3 exec) and books like Advanced Programming in the UNIX Environment by W. Richard Stevens are your best friends for diving deeper.
8.3 Encouragement for Learners
Building your own shell is challenging, but every line of code you write teaches you something valuable. Even if your shell crashes spectacularly sometimes (it will), you’re learning concepts that textbooks can’t teach.
Keep experimenting, refactor your code into modular functions, add features gradually, and most importantly — have fun. One day, you’ll look back and realize you’ve written a program that literally talks to the operating system, and that’s something to brag about. 😎
So go ahead: expand your shell, share it with the world, and start your journey toward becoming a master of C systems programming.